Wednesday, January 20, 2016

Setting up crouton and elementary OS on a chromebook *simplified*

This is just a simplified way of following the steps on the google docs instructions out there on the web. If you don't want to bother editing and creating files then this is the way to go. I've only done this on x86 chromebooks. ** Your chromebook must be in developer mode **

1. Download crouton at github. Here: https://goo.gl/fd3zc

2. Open a new terminal with Ctrl+Alt+t and type shell and hit enter to enter the shell.

3. Run sudo sh -e ~/Downloads/crouton -t xfce,keyboard,extension and wait for it to finish running. At the end, it’ll prompt you to enter a new user and password for the account.

4. Install the elementary os repo and update apt: 
sudo add-apt-repository -y ppa:elementary-os/stable
sudo apt-get update

5. Install the packages we need: sudo apt-get install python-software-properties elementary-desktop gtk2-engines-pixbuf

6. Download the elementary os startup script and xinit_pantheon script in your browser then move them in the shell: sudo mv ~/Downloads/startelementary /usr/bin/startelementary && sudo mv ~/Downloads/xinit_pantheon /usr/bin/xinit_pantheon && sudo chmod +x xinit_pantheon && sudo chown root:root xinit_pantheon

7. Done. Enter sudo startelementary In the future just open a chrome OS terminal (ctrl + alt + t) and enter shell then run the script by entering sudo startelementary

8. EXTRA. Remove unneeded apps install elementary os tweaks: sudo apt-get purge xfce xfce-goodies xfce* shimmer-themes netsurf-gtk empathy telepathy* indicator-messages brasero geary maya-calendar elementary-scan shotwell totem onboard gnome-orca espeak && sudo apt-add-repository ppa:versable/elementary-update && sudo apt-get update && sudo apt-get install elementary-tweaks


Tuesday, September 15, 2015

Top kodi themes for 2015

Installing and testing skins can be really time consuming only to find out that a skin is missing a feature you like, looks awful, or isn't compatible with the current version of kodi. These are my favorite non-confluence ones that work on Isengard. All of these work on Isengard, kodi 15.x.

1. Arctic Zephyr

This is a really clean skin that has a light or dark theme. It runs smoothly and has a nice fullscreen music mode that shows the playlist currently playing.


2. Eminence

This one is lightweight yet extremely functional and fast. It has a minimalistic elegance to it that I like. It is made by the same person that made Arctic Zephyr, jurialmunkey.


3. Hybrid

This one is actually an update to the default theme, confluence. To install it, add this repo http://hybrid-development-repo.googlecode.com/files/xbmc.repo.hybrid-1.0.0.zip


Wednesday, September 09, 2015

How-to: Use Popcorn Time a on Fire TV Stick

Whether it is legal or not in your country and for what uses I will not get into, this is just about how to use it on the Fire TV Stick. Popcorn time is often called the "free netflix like program" that uses bittorrent technology. It does indeed work on the Fire TV Stick if you use VLC as an external player. 

1. Download Popcorn time for Android and sideload it

On your computer, head on over to popcorntime.io/ and download the Android apk and go ahead and flash it to your Fire TV


It will open up and seem to be running great, even the UI interation with the standard Fire TV remote but unfortunately the video will stutter and be unwatchable even on 720p (the lowest video quality setting). The resources it takes to run the torrent client makes popcorn time's internal player too inefficient for the Fire TV Stick. VLC requires less resources to run smoothly.

2. Download and sideload VLC

Download VLC for Android TV and then go ahead and sideload it onto your Fire TV.

Tip: VLC will automatically be launched by Popcorn time. If you don't need it to play anything else, you can hide it in Firestarter so it won't clutter up your homescreen but will still function.

3. Change the Popcorn Time settings to use VLC

Open Popcorn Time and open the menu at the top left of the screen and open preferences. (It may seem like you need a remote mouse but if you wait for the main movie grid to populate with images then open the menu and hold down on the fire TV remote it will work.)
Make sure you choose the following settings:

  • Change the default player to VLC
  • Image quality to 720p (1080p stuttered on my Stick while the torrent client was on too)
  • Remove cache on player close.
  • Adjust upload speed limit and lower the amount of connections and nodes if it lags or allow the movie to download to 100% before playing.


TIP: If you have the time, after VLC launches backup and allow the video to download to 100%. It will play much better without anything being downloaded into the cache. 

4. Conclusion

I find streaming from a single source using addons in Kodi or from another computer on my home network to be a better experience because it the extra resources it takes from the Fire TV limits the quality of playback. 720p was only acceptable on my Fire TV Stick and it takes over 2 minutes to get a sizable enough buffer to start playback. However, it did look pretty good and there are use case scenarios where this is a good option.

Tuesday, September 08, 2015

Firestarter launcher - Fire TV home screen alternative

Launching sideloaded apps on the Fire TV Stick is kind of a pain because you have to go into settings, then applications, the manage applications, then finally launch it. Blah. My favorite solution for this is the Firestarter launcher. It can replace the default Amazon home button's function to launch the Firestarter screen instead of the default one which shows all of your sideloaded apps or doesn't! It's very customizable and clean looking. No need to worry about losing access to your Amazon content either!

1. Download the app

Head over to github.com/sphinx02/FireStarter/releases and download the apk on your computer.

2. Sideload the apk

 I like to use adbFire to do my sideloading, I made a tutorial here if you need it.

3. Launch Firestarter for the first time

On the Fire TV home screen, go down to 'Settings' and then over to 'Applications' and then down to 'Manage Installed Applications'. Find Firestarter and launch it.
  

Boom! A clean launcher focused on apps. 


4. Configure the settings

By default, Firestarter will be configured to launch at boot or when the home button is pressed but you can change it to any app you want! You can also hide apps that you might just want to run in the background and many other options. Plus it has an integrated updater so you don't have to worry about sideloading it again whenever there is an update. 

How-to: sideload apps like Kodi to fire tv stick using adbFire

The Fire TV and Fire TV Stick are simply android devices with Amazon's own skin and the absence of google services (like the Play Store). Just like any Android device, the Fire TV can have apps "sideloaded" onto it. The most common app to sideload is Kodi (formerly XBMC). Here is a google doc of apps that work and do not, but it is a little under cultivated. Rather than installing ADB (Android Debug Base) and using the command line on a pc to install an .apk (Android Program) there are a couple programs that make the process very simple. My favorite is adbFire.  

1. Download and install adbFire

On your computer, head over to jocala.com/adbfire.html and download the .zip for your OS, windows, mac, and linux are available. Extract the zip file which will give you a folder that has a lot of files and folders in it. You MUST keep all of the files in this folder because they are dependencies, you do not 'install' adbFire in the traditional sense (unless on a mac), instead you will open the program from within this folder.


2. Enable ADB and third party apps on your Fire TV

Head down to the settings on your Fire TV and go over to 'System' and then choose 'Developer options'.


Turn ON 'ADB debugging' and 'Apps from unknown sources'.


While we are in the System settings, back up and go to 'About' and go down to 'Network'. Take a note of your Fire TV or Stick's IP address and write it down if you need to.


3. Add your Fire TV to adbFire

Open up adbFire and you will notice that the 'Current Device' is blank. Click on 'New'. The only 2 fields that we need to worry about to get things to work is the device name and Address. The device name can be anything you want, the Address is the IP address we noted in the Fire TV System settings. Fill these out and click save.


4. Ready to sideload! 

We are now ready to sideload an apk to the Fire TV. Make sure you choose the fire tv and it shows up in the 'Connected devices' field, if it doesn't click on Connect.


5. Sideload an .apk

For this example we will use kodi to sideload. Head on over to kodi.tv/download/ and download the Android version for ARM processors. Like all android programs, it will be an .apk file (Android Application Package). Simply click 'Install APK' and choose the apk you want to install and wait for it to say it installed. Depending on the program size, it may take a few minutes. If it fails, try it again but it shouldn't fail twice.


6. Launching the sideloaded app

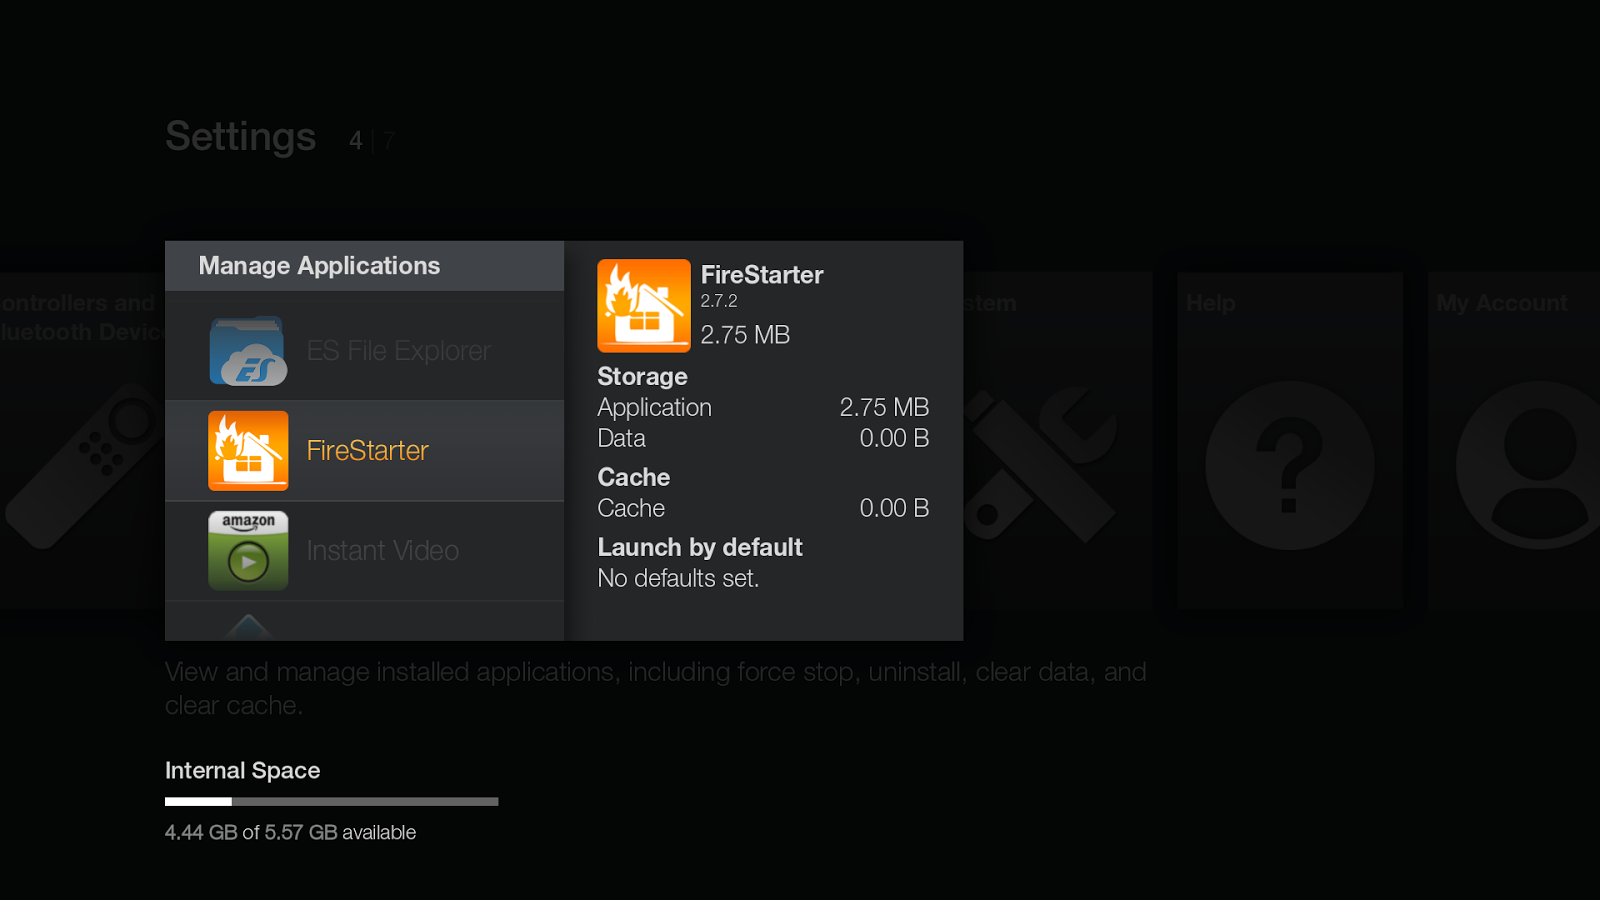
Unfortunately you will notice that Kodi is not showing up under your apps. This is because only Fire TV apps installed through the Amazon appstore show up on the Fire TV home screen. To lanch it you will have to go down to the Fire TV settings and head over to 'Applications' and then down to 'Manage Installed Applications'


Now you can see all of your installed apps and launch them from here!


7. Better and easier ways to launch sideloaded apps

My favorite way to launch apps is to use a different launcher that gives you a home screen that shows all of your sideloaded and normal amazon appstore apps. Check out my firestarter guide here.

Wednesday, August 23, 2006

Updated The XGL/Compiz HowTo, Created First Theme

The themes for compiz/xgl weren't working because the themes are now made for 'cgwd'. Rather than writing a new howto I just updated the older one.

I was a little tired of all the Vista and OS X lookalike themes and missed one that used to be in the old gcompizthemer called 'calm'. So I tried to make one that resembled the old 'calm' one (which is posted in the howto) but using the new vrunner engine. Try it out and tell me what you think!
Calm_Reminiscent_teal.cgwdtheme

Saturday, July 15, 2006

Improved XGL And Theme Changer For openSUSE 10.1

** You first have to properly install the appropriate proprietary driver for your video card. If you have an ATI card follow my guide here. Nvidia users, try this page to install your driver. **

** If you installed KDE as your default desktop environment, you must make GNOME your default and make sure you use GDM not KDM. **

Compiz And XGL
You need to have Smart installed for this guide. If you don't have it yet, go here.

We need to add QuinnStorm's packages to Smart, in the terminal (all one line):

sudo smart channel --add http://software.opensuse.org/download/Compiz-Quinn/SUSE_Linux_10.1/Compiz-Quinn.repo

Then do a:
sudo smart update
And install Compiz, XGL,and the theme changer (all one line):
sudo smart install cgwd-themes gset-compiz glib2-devel compiz xgl
Then (all one line):
sudo /opt/gnome/bin/gnome-xgl-switch --enable-xgl -accel\ glx:pbuffer\ -accel\ xv:pbuffer

Log out and log back in and XGL should be running.

****If you can't boot back into you GUI type 'sudo gnome-xgl-switch -disable-xgl' then 'sudo reboot'****


Very nice, but ... but there is more. To use Compiz themes type this in the terminal:
cgwd --replace &
Then open the themer press alt+f2 and type:
gcompizthemer
Free Image Hosting at www.ImageShack.us
If you not want to execute 'cgwd --replace &' avery time you login, open '/opt/gnome/bin/gnome-wm' file, go to line 49(aprox) and replace /usr/bin/gnome-window-decorator with /usr/bin/cgwd . Please be carefully with this small hack.

// Before (line 49):
/usr/bin/gnome-window-decorator --replace &

// Now (line 49):
/usr/bin/cgwd --replace &


To change the behavior of XGL and tweak its options press alt + f2 and type:
gset-compiz


SLED Menu:

To install the sled menu first download and install the rpm:
x86
x86_64

Now to add it to your panel, right-click on the panel 'Add to Panel' and choose 'Main Menu'.